[カスタムペイント]グラインダータトゥーのやり方を解説。 しかも比較的安全なドリルを使って
先に動画を完成して、YouTubeにアップしていたものを文字化します。

もくじ
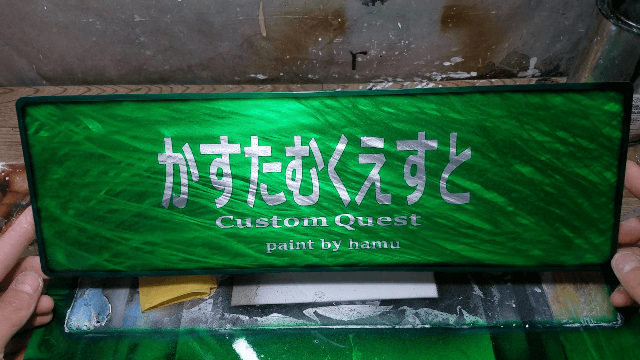
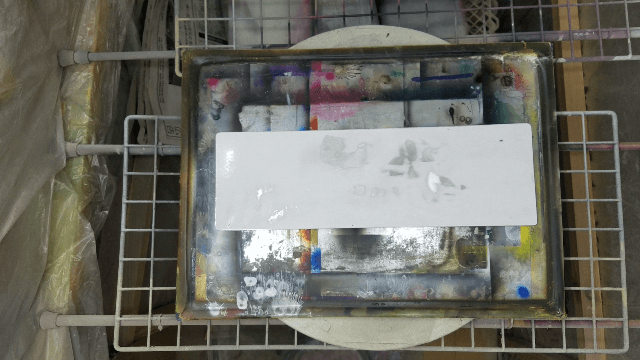
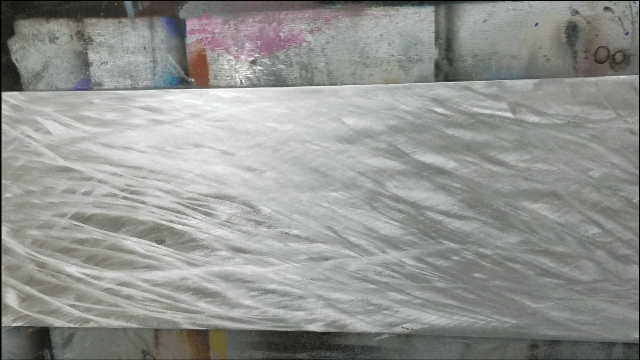
今回の完成品
・上方向から見た画像↓
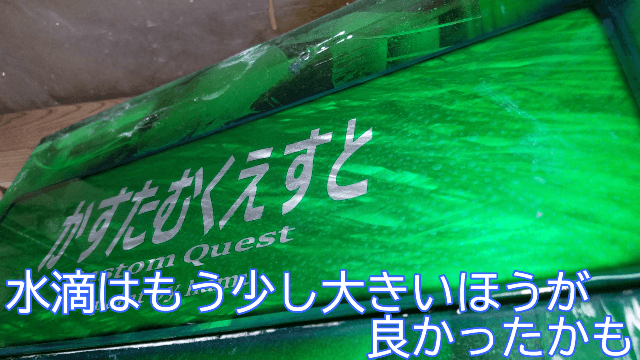
・下方向から見た画像↓
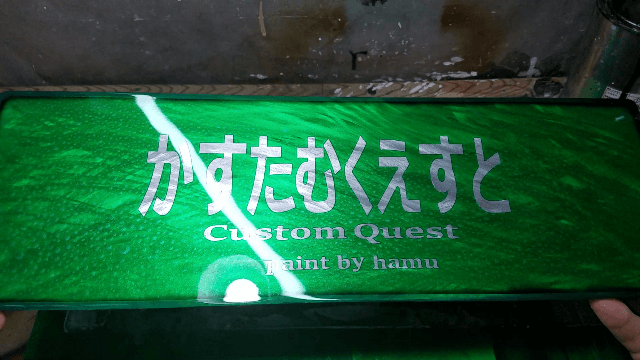
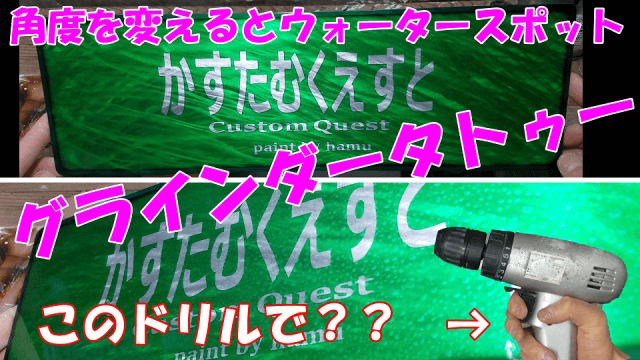
見る角度によって、ウォータースポット水滴ペイントが見えます。
【ゴーストウォータースポットペイント】
動画で見てもらって方がわかりやすいと思うので
今回のボードはアルミなので、よく見るグラインダータトゥーは鉄にやっているのでアルミより輝きがあります。
始めていきます
今回はアルミ複合版つかいます。
いつもエアブラシには使っているボードですね。
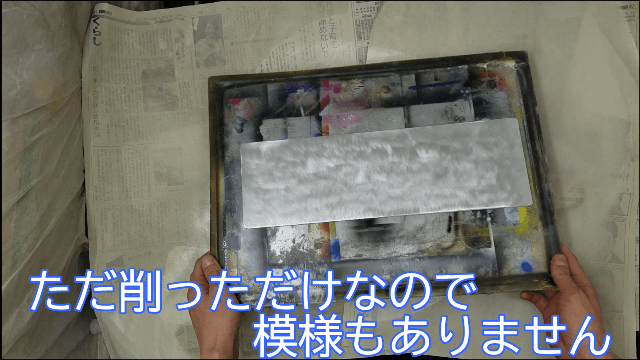
最初にこのアルミ複合版の塗装は必要ないので削って剥がします。
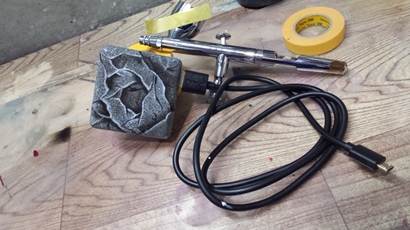
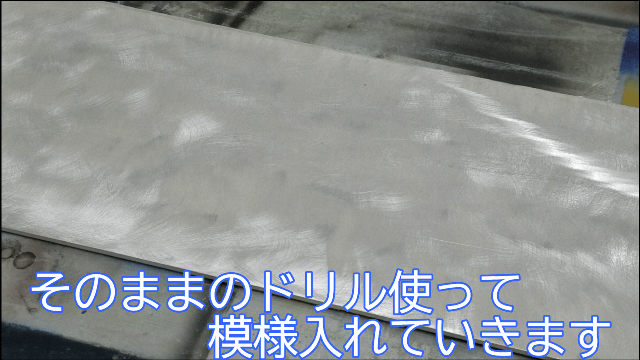
ここからドリル使っていきます

先端に研磨ツールをつけて削っていきます。
ペーパーの大きさは約50mm
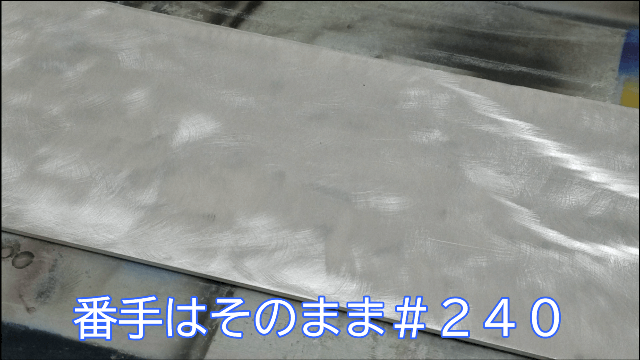
#240のペーパーをつけて下地のアルミまで全て削っていきます。

削りカスを一旦掃除しときます。

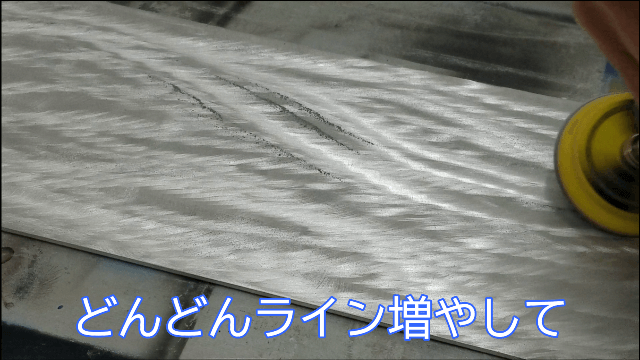
より細い線を入れることができます。
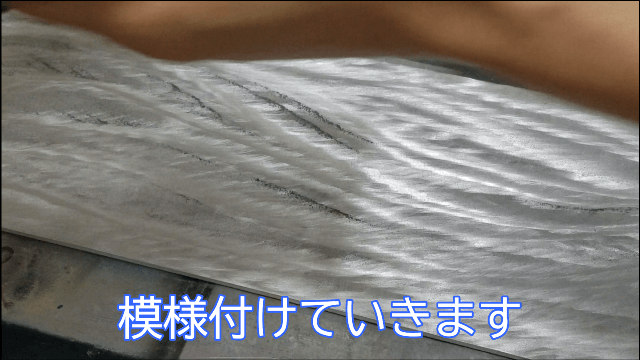
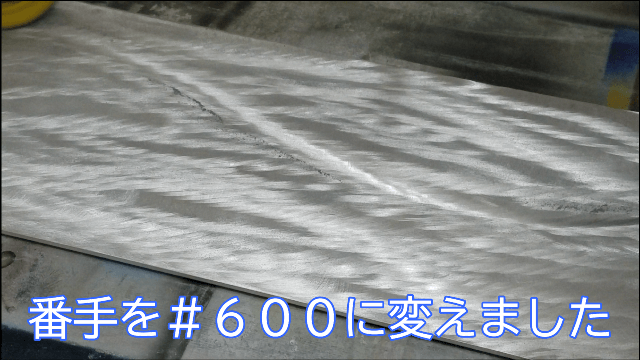
#240で流れるようなラインがある程度作れてから、#600でさらに細いライン入れてます。
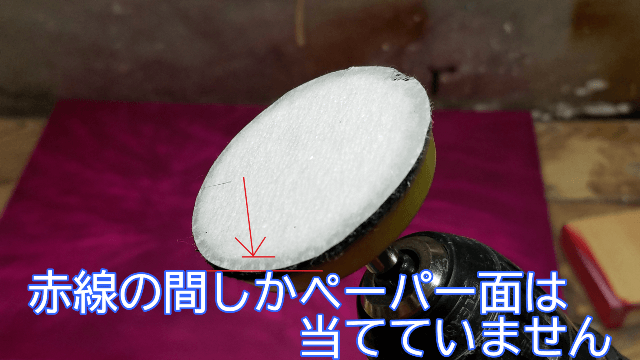
#600使っているときは上の画像のようにペーパー面が端っこしか当てずに削っていきました。
下地のグラインダータトゥー完成
全体にライン入れ終わりました。
この上に塗装していくので、削りカスをしっかりとりましょう。
傷自体はそこまで深くないので、クリヤーで段差を取らずにそのままキャンディペイントしていきます。
文字マスキングしてキャンディーペイント
文字マスキングしてからキャンディペイントしていきます
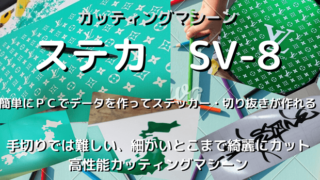
文字はステカで切り抜き
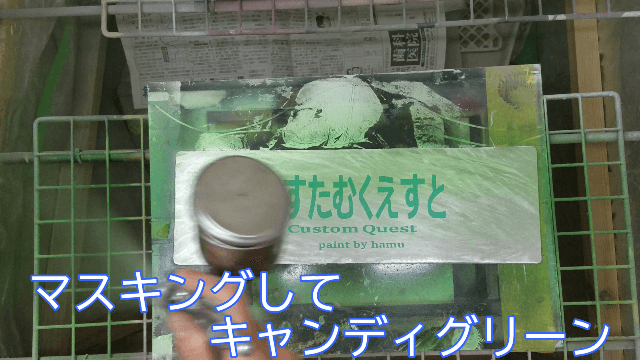
マスキングをしたところはタトゥーラインに色が乗らないようにしています。
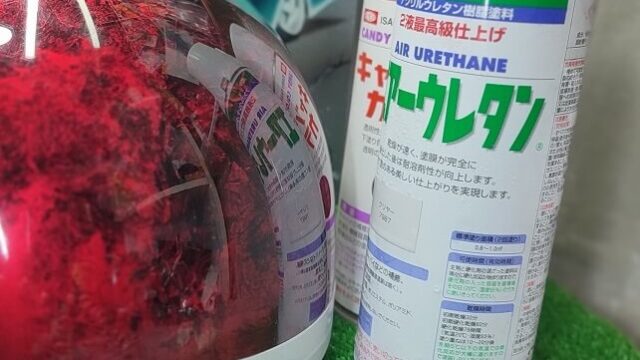
キャンディを2回から3回好みまで重ねてから

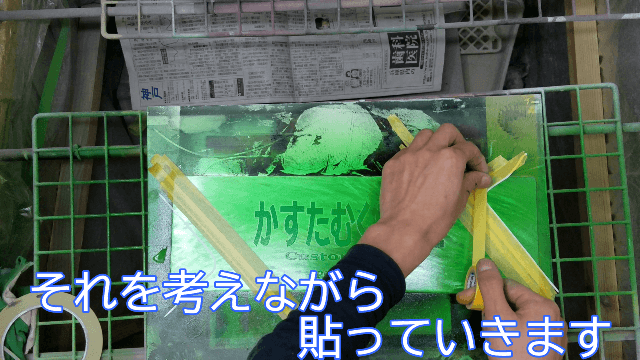
特に最初は何も決めていないので、なんとなくでやってます。
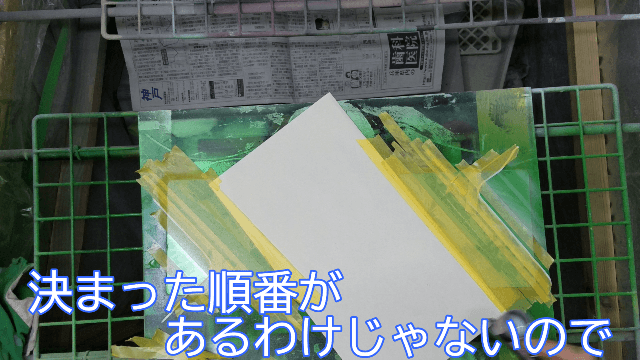
2回ぐらい重ねました。

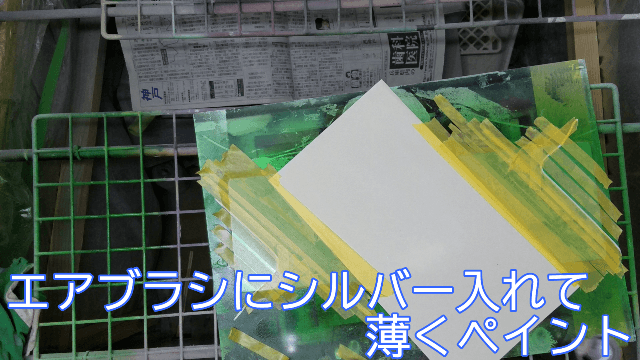
ウォータードロップします
少し何か欲しかったのでウォータードロップしていきます。
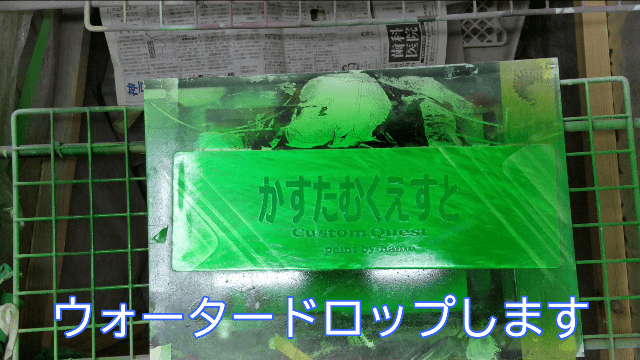
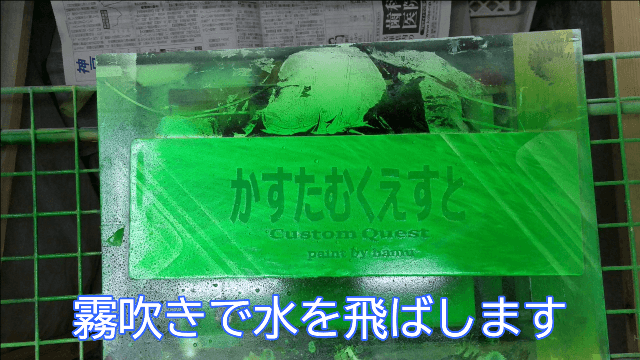
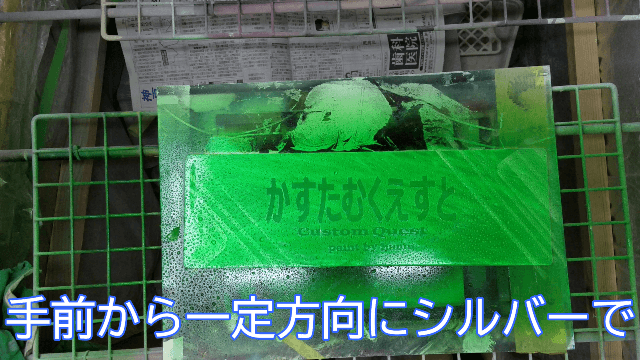
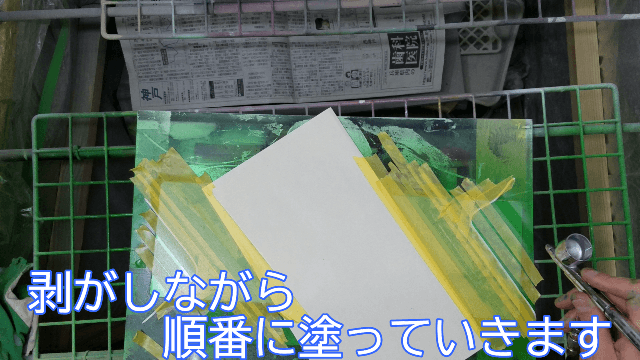
全体にいきわたるよう優しくエアブラシでシルバー吹いてください
水滴が動いてしまわないように
エアブラシの距離・エア圧を調整しましょう。
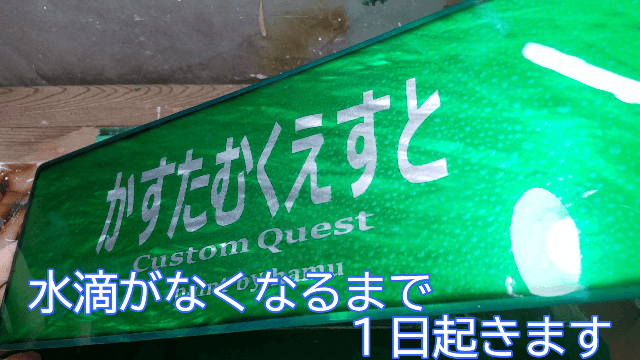
シルバー塗装が終わったら水滴がなくなるまで1日置きます
真冬でも1日置いておけば、水分は蒸発します
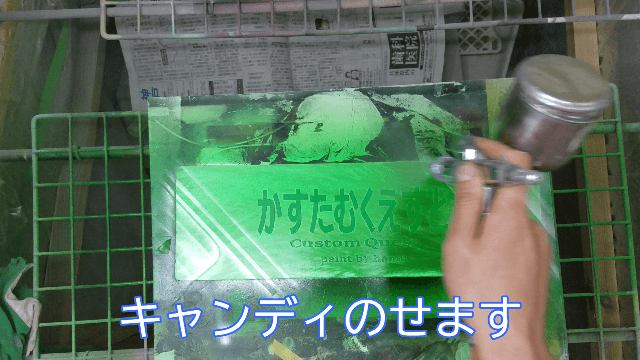
ウォータードロップ後キャンディ
水分が完全に飛んだら、キャンディ重ねます
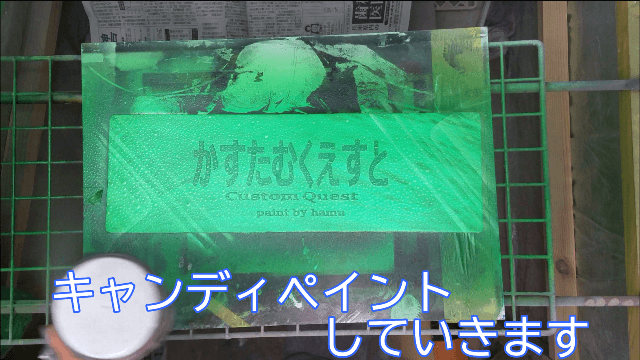
お好みで。2回ほど重ねました。

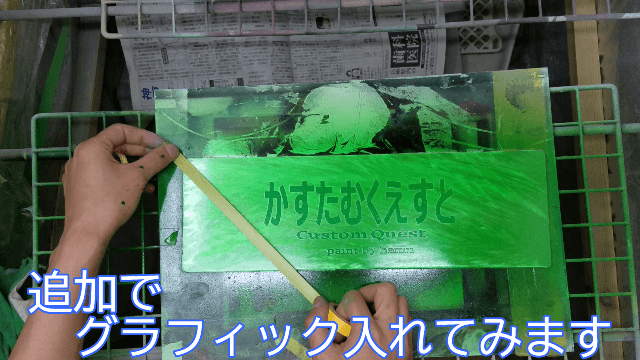
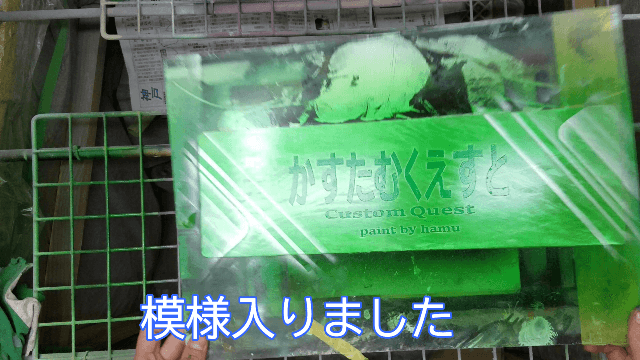
これで、模様はグラインダータトゥー、グラフィック、ウォータードロップと入りました。
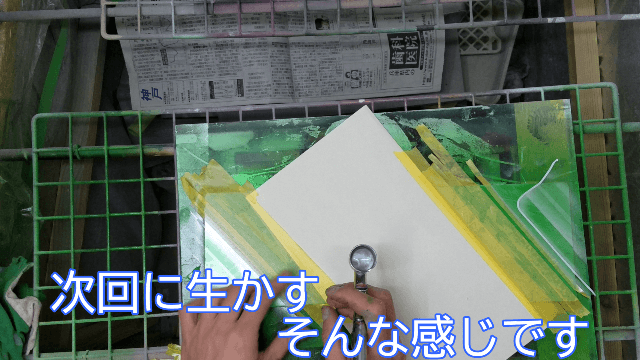
最初はグラインダーだけの予定でしたが、誰が決めるでもなく自分で決めていくので、色々と試しながら何かさがしながらペイントしていきました。
クリヤーをたっぷり吹いて乾燥させましょう。
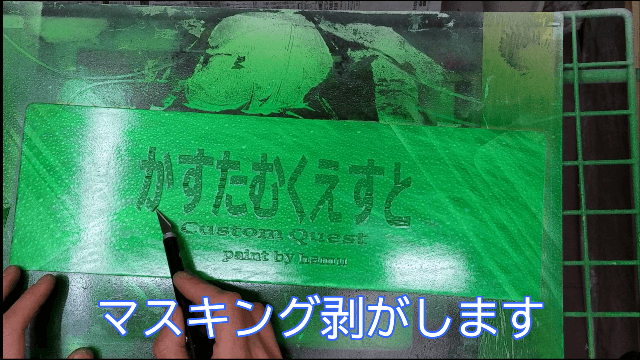
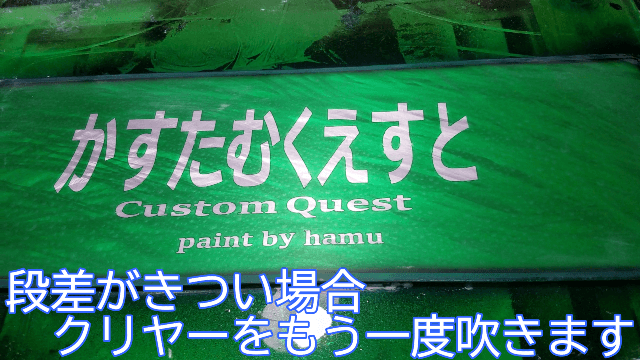
仕上げ工程~磨き
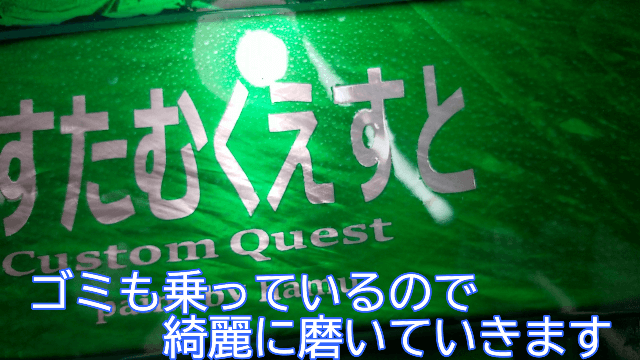
文字もマスキング貼ったまま、何回もキャンディを重ねているので段差も結構あります。
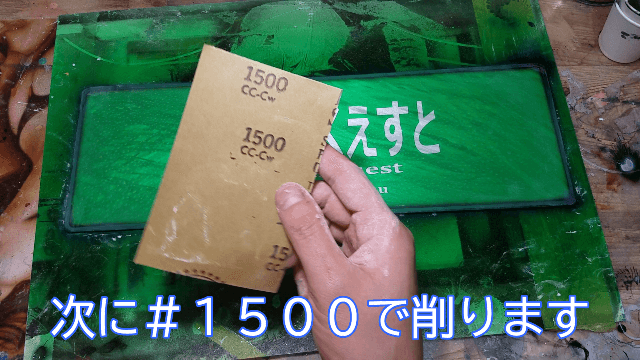
削って段差とゴミをとってしまいましょう。
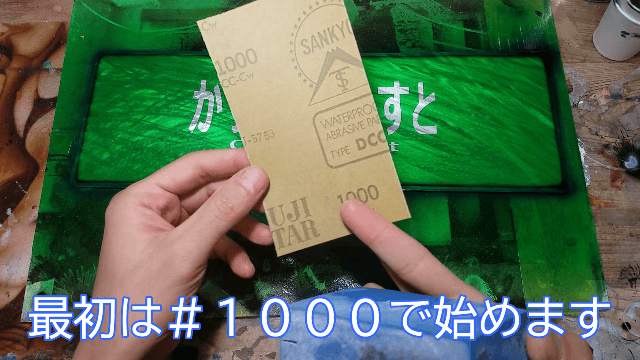
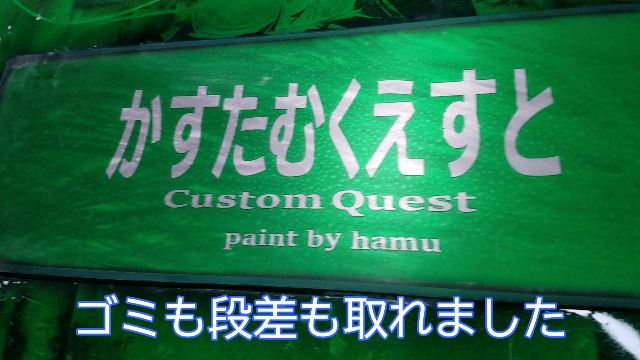
今回はこのままでも行けそうなのでクリヤーなしで行きます。
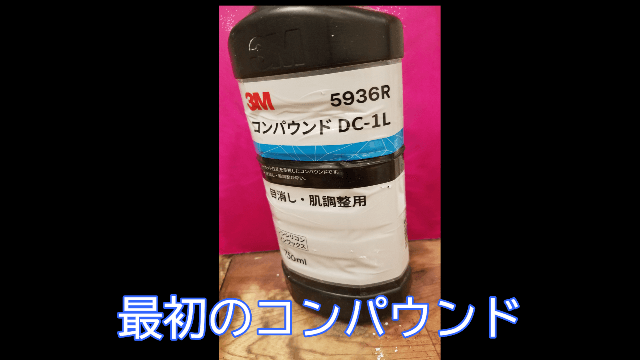
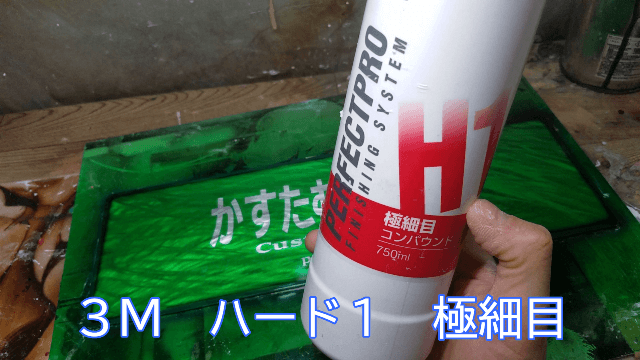
ここからコンパウンドを使っていきます
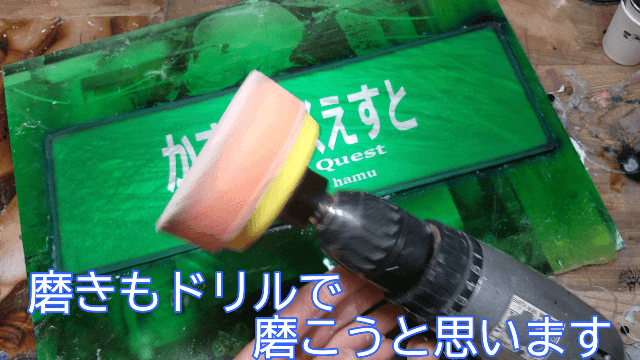
先端に付けているものは、グラインダータトゥーの時に使ったものとは違います
ポリシャー買うのもまだやと思っている方でドリルあるなら、このパットセット使えますよ。
色々なバフの硬さもついているので、肌調整から仕上げ磨きと幅広く使えます。
→また記事にします

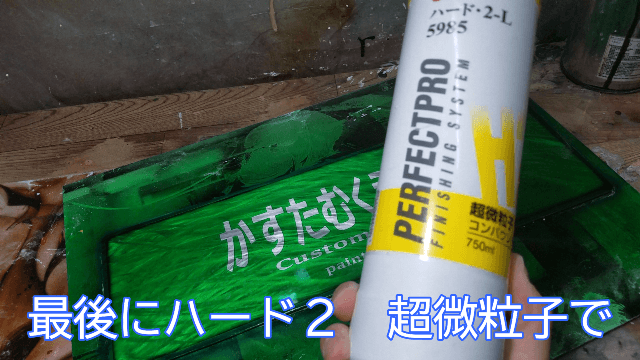
と順番に磨いて完成です
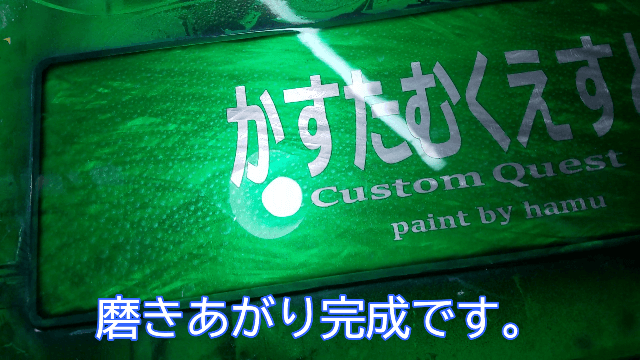
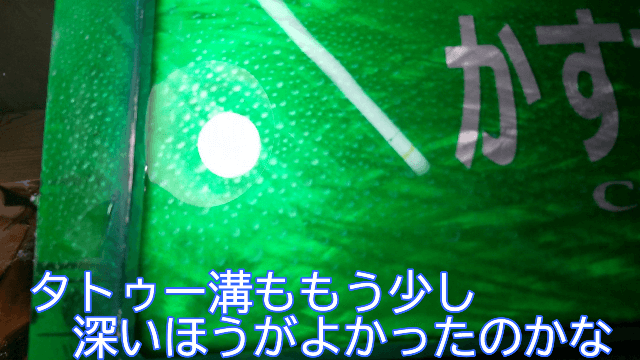
と思ったりもします。
本家のを見てみると、グラインダーの輝きが違うので、溝の深さなのか、回転の問題か
色々あると思うので、また試して記事にしようと思います。
少し上から見ると水滴は見えません。
角度を変えると見えるので、ゴーストウォータードロップと言ってみました。
もっとゴーストに見えるように工夫してみたいですね。
動画のほうが完成図もわかりやすいと思うので見てみてください。